
Underfloor heating and radiators on one heat source
Underfloor heating and radiators on one heat source
The radiator circuit works with a higher water temperature than underfloor heating. The underfloor branch therefore has its own mixing valve and pump, and the two circuits are separated by a hydraulic separator (low loss header). Click a number to open the matching product.
A number in the diagram takes you to the matching item in the list below.
Step 1: heat source and separator


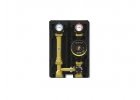
Step 2: radiator and underfloor branches


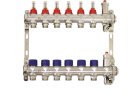
Step 3: underfloor areas
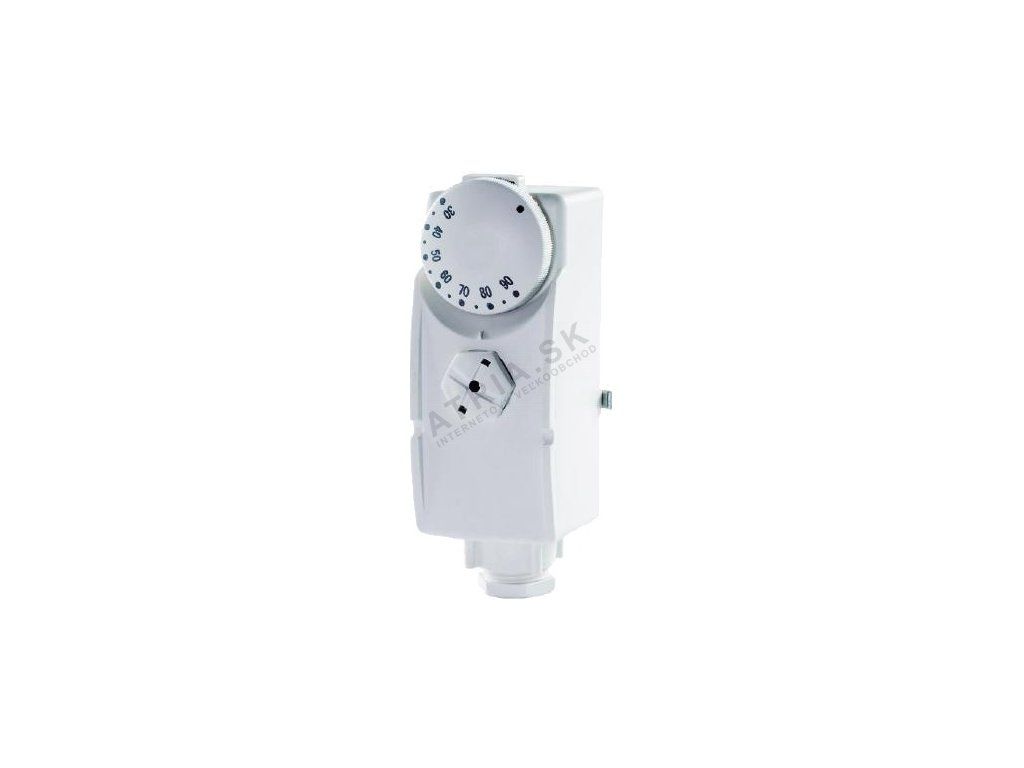
Step 4: temperature control


Two temperature circuits on one heat source
When radiators and underfloor heating are combined in a house, each circuit needs a different water temperature. The set is intended for installation companies and boiler room designers who want to connect these circuits clearly, with ready-made boiler modules and with controls that reliably protect the floor from overheating. The same principle can be extended to further circuits, such as cylinder heating.
Installation procedure
- Install a hydraulic separator (low loss header) after the heat source. The boiler circuit and the heating circuits are then hydraulically separated, and the pumps do not influence each other.
- Mount the hydraulic separator vertically, with an air vent at the top and a drain for desludging at the bottom.
- Fit a safety group with a safety valve, a pressure gauge and an air vent on the boiler circuit.
- Connect the boiler modules to the secondary side of the hydraulic separator – an unmixed module for the radiators and a mixed module for the underfloor heating.
- If you are assembling the mixed circuit from individual parts, observe the manufacturer's marking of the three-way valve ports and install the pump after the valve in the flow of the underfloor circuit.
- Fit an actuator on the valve with an adapter kit that matches the type of valve.
- Attach a safety pipe thermostat to the underfloor circuit flow after the pump and wire it so that it switches off the underfloor pump if the set temperature is exceeded.
- Connect the weather compensation controller to the outdoor sensor on the north wall, to the flow temperature sensor of the mixed circuit and to the actuator. Fit the room thermostat in the reference room.
- Fill the system, bleed it and carry out a pressure test.
Choosing the right parts
- The hydraulic separator should be chosen according to the highest flow rate that will pass through it – compare the boiler flow rate with the sum of the flow rates of all circuits and choose a separator with a reserve.
- The three-way valve is sized according to the Kv value, which is roughly calculated as the flow rate in m³/h divided by the square root of the pressure loss across the valve in bar. An oversized valve only regulates within a small part of its stroke, and the temperature fluctuates.
- The actuator must have sufficient torque for the given valve and the type of control supported by the controller – for example, 3-point control.
- The pumps should be sized separately for each circuit. The underfloor circuit works with a smaller temperature difference, so it needs a higher flow rate than the radiators for the same output.
- Controls. Weather compensation sets the water temperature according to the outdoor temperature, which saves energy and improves comfort. A room thermostat helps it correct for the effect of sunshine or a larger number of people in the room.
Most common installation mistakes
- Several pumps without a hydraulic separator – the circuits influence each other and the valves whistle.
- The underfloor circuit pump installed before the mixing valve.
- Swapped ports on the three-way valve.
- A safety thermostat that is not wired into the pump circuit, or is far from the flow.
- An outdoor sensor exposed to direct sunlight or mounted above a window.
- A hydraulic separator without an air vent and without a way to desludge it.
Commissioning and maintenance
After filling and bleeding, set the heating curve on the controller and test that the safety thermostat switches off the pump. Balance the flow meters on the underfloor heating manifold according to the calculation. During the first few weeks, fine-tune the curve according to the actual room temperatures. During maintenance, desludge the hydraulic separator and check the pressure and the operation of the actuator.
Frequently asked questions
Is a hydraulic separator always necessary?
We strongly recommend it for several circuits with their own pumps and for boilers with their own pump. In a simple system with a single circuit, it may not be needed.
Is fixed mixing without an actuator enough for underfloor heating?
It is possible in simple systems. However, weather-compensated control with an actuator responds to the weather, and the floor does not overheat even on mild winter days.
What is weather compensation?
It is control of the heating water temperature according to the outdoor temperature. The colder it is outside, the warmer the water that the controller sends to the circuits.
Why a pipe thermostat when there are controls in the system?
It is an independent safeguard. If the controller or actuator fails, it switches off the pump before hot water reaches the floor.
What to order for the mixing set
To separate the circuits, prepare the Hydraulic separator - 1"; 2500l/h; assemble the circuits from the HEAT BLOCK boiler modules range or with the Three-way mixing valve ESBE VRG131, and complete the control from the controls category. Registered partners can see wholesale prices after logging in. We dispatch goods from our warehouse in Žilina and ship them throughout the EU.