
Heating system – all components
Heating system – all components
The diagram shows the individual parts of a heating system: underfloor heating, manifold, radiators and controls. Click a number to open the matching product.
A number in the diagram takes you to the matching item in the list below.
Step 1: floor build-up


Step 2: manifold and pipework


Step 3: heat source and radiators

Step 4: temperature control


A complete water-based heating system from one warehouse
This set is intended for installation companies and heating engineers who deliver the heating of a house or flat as a whole – that is, a combination of underfloor heating, radiators and controls connected to a single heat source. The overview helps you prepare a complete material order and avoid forgetting the small parts that are most often missing on site. It is equally useful for resellers putting together a quotation for a complete system for their customer.
Installation procedure
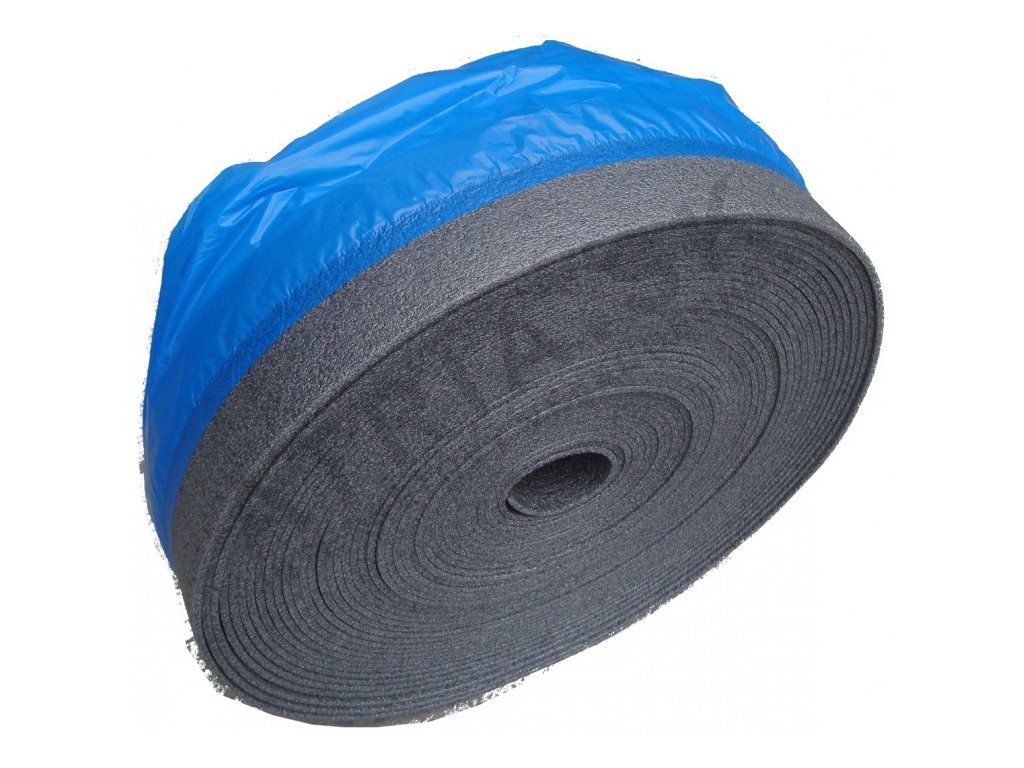
- Preparing the base. Lay thermal insulation of the thickness specified in the design on a level, clean base. Around the perimeter of the rooms, around columns and at thresholds, stick an edge insulation strip that reaches from the structural base to above the level of the future floor finish.
- System panels. Lay the studded panels tightly butted together so that there are no gaps through which the screed could run down to the insulation. Lay the film overlap of the edge strip onto the panels.
- Fitting the manifold. Position the cabinet as close as possible to the centre of the heated areas so that the supply sections to the circuits are short. Fix the manifold in the cabinet and fit ball valves on its inlets.
- Laying the circuits. Unroll the pipe without twisting it and lay it between the studs of the panels in a spiral or serpentine pattern. Each circuit starts and ends at the manifold; label both ends with the name of the room.
- Connecting the circuits. Cut the pipe ends square, calibrate and chamfer them, and connect them with eurocone compression fittings – you need two per circuit.
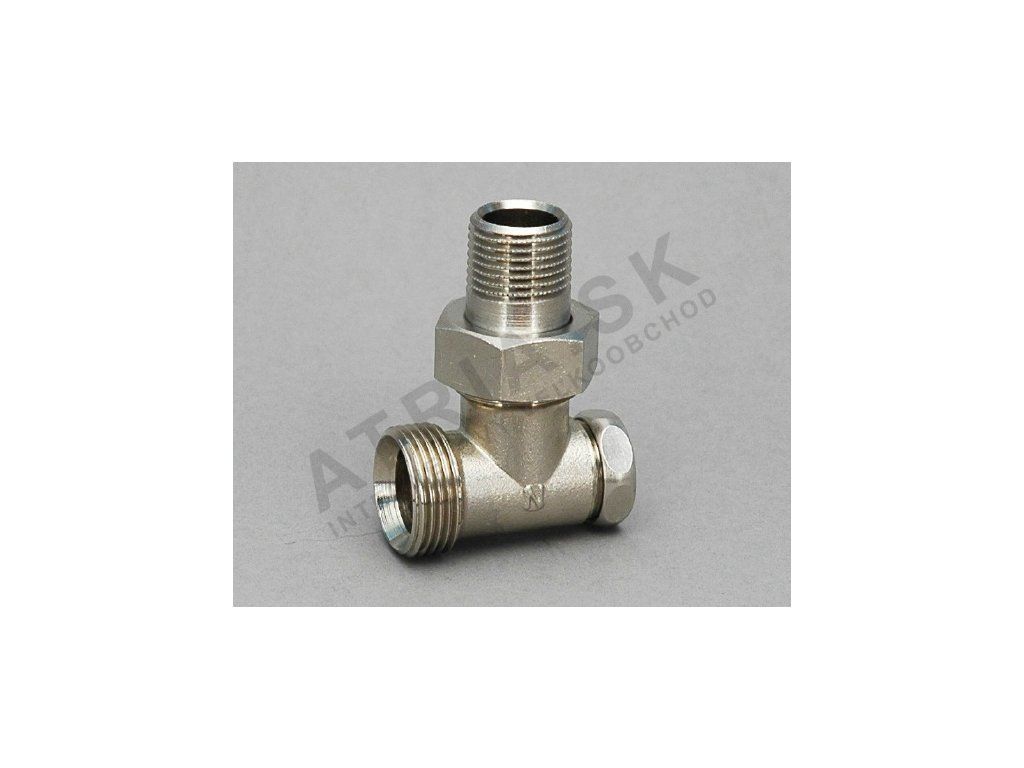
- Radiator branch. Run the radiator pipework in a star layout from the radiator manifold or as branches via tees. The thermostatic valve goes on the radiator flow, the lockshield valve on the return.
- Pressure test. Before screeding, fill the system, bleed it and carry out a pressure test according to the pipe manufacturer's instructions. Keep the pipework under pressure while the screed is poured so that any damage shows up immediately.
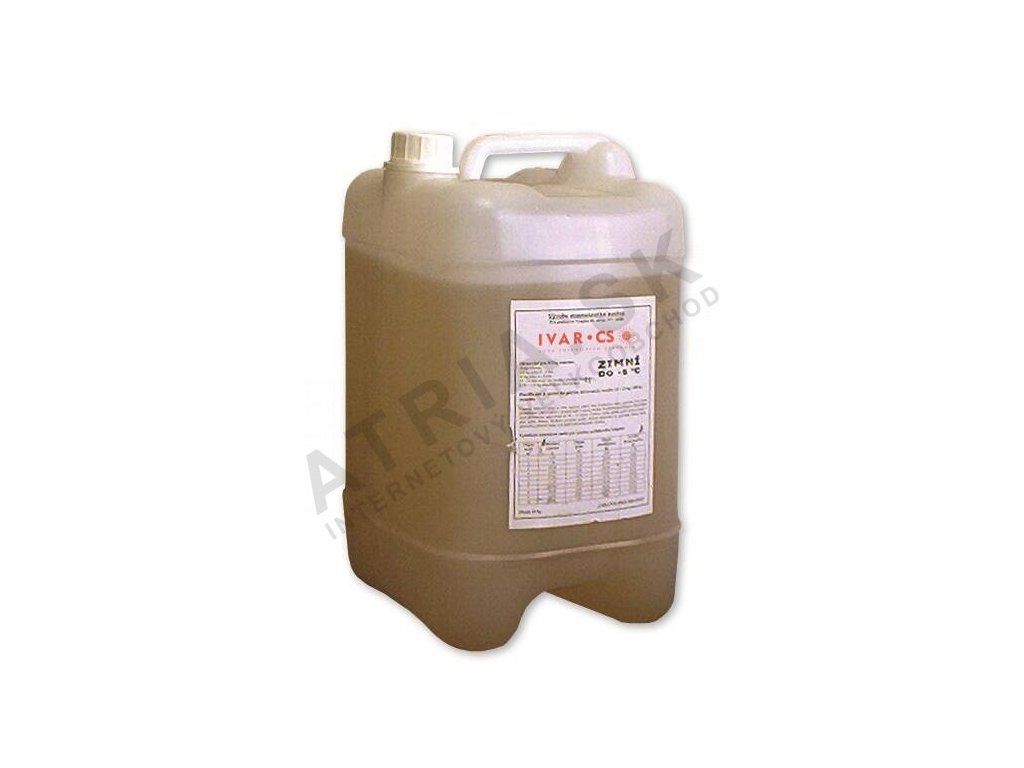
- Screed and controls. Add plasticiser to the mix at the dose stated in the instructions. Once the screed has cured, fit the thermostatic heads and room thermostats and connect the controls to the heat source.
Choosing the right parts
Pipe. Underfloor heating circuits most commonly use 16 × 2 mm or 17 × 2 mm pipe. As a rule, keep the length of one circuit within 80 to 100 m; otherwise the pressure loss rises sharply and the pump cannot push enough flow through the circuit. Choose the pipe spacing according to the heat loss of the room – in perimeter zones near windows, lay the pipe closer together.
Insulation. The insulation thickness depends on what lies beneath the floor. Above an unheated basement or directly on the ground, a considerably thicker layer is needed than between two heated storeys.
Manifold. Choose the number of outlets according to the number of circuits, with a small reserve. Flow meters are essential for hydraulic balancing – without them, the shorter circuits will overheat and the longer ones will stay too cool.
Cabinet. Choose the cabinet width according to the total length of the manifold, including the ball valves, any mixing unit and the pipe bends. A flush-mounted cabinet must be allowed for as early as when the partition walls are built.
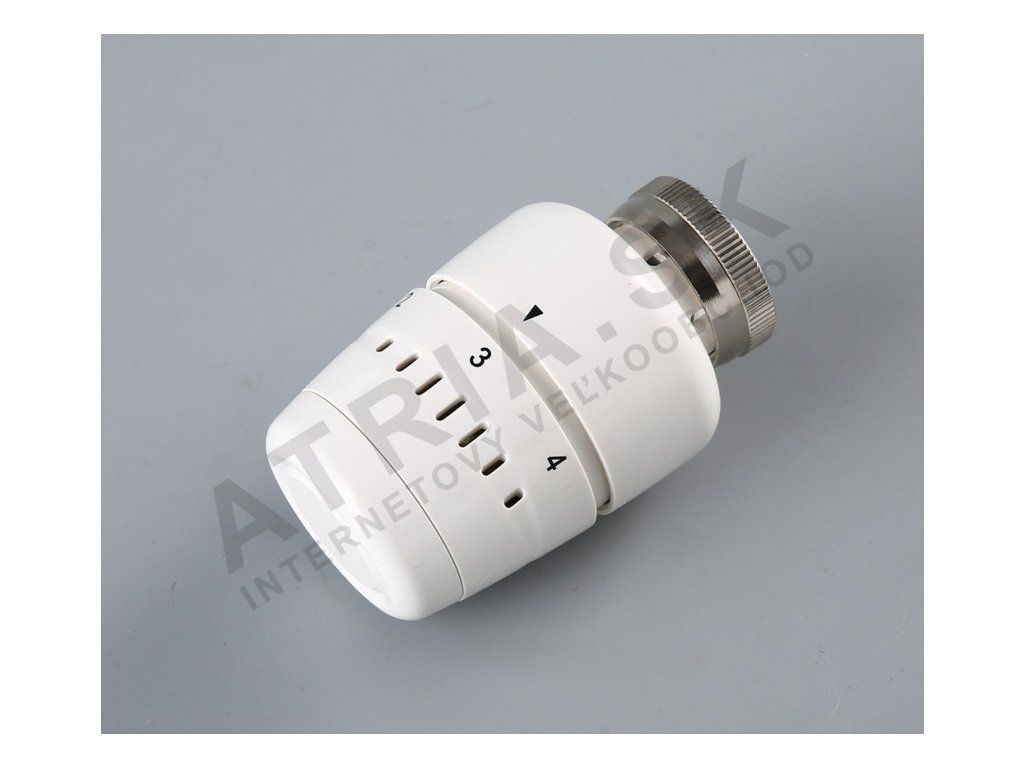
Controls. Thermostatic heads are the simplest solution for radiators. If the rooms need different temperatures depending on the day and time, go for programmable heads. The room thermostat belongs in a reference room without other heat sources.
Most common installation mistakes
- Missing or interrupted edge strip – the screed presses against the walls as it heats up and cracks.
- A pipe joint in the screed. A circuit should be one continuous length; all joints belong in the manifold cabinet.
- Circuits of different lengths left unbalanced, without adjusting the flow meters.
- Screeding without a pressure test or with pipework that is not under pressure.
- A thermostatic head covered by a curtain or a radiator cover, so that it measures a distorted temperature.
- A room thermostat on an external wall, next to a window or above a radiator.
Commissioning and maintenance
Only start heating the screed once it has cured – cement screed generally after 21 days at the earliest, anhydrite screed sooner, always according to the screed manufacturer's instructions. Raise the water temperature gradually, in small steps. Then set the flow meters according to the calculation and check the system pressure. Once a year, check the pressure, the filter and the operation of the valves and heads; outside the heating season, leave the thermostatic heads fully open so that the valve plugs do not seize.
Frequently asked questions
Can I connect underfloor heating and radiators to the same heat source?
Yes, but the underfloor circuit needs a lower water temperature than the radiators. With a heat source that has a higher flow temperature, add a mixing unit or a boiler module with a mixing valve.
What is the difference between a thermostatic head and a programmable head?
A thermostatic head maintains the set temperature continuously. A programmable head changes it according to the time – for example, it turns the heating down in the bedroom during the working day and raises it again in the evening.
Why are there ball valves at the manifold?
They allow you to isolate the manifold from the rest of the system. When replacing an actuator, modifying a circuit or cleaning the flow meters, there is no need to drain the whole system.
Is plasticiser always needed in the screed?
We recommend it for cement screed over underfloor heating. It improves the workability of the mix, the screed surrounds the pipe better and there are fewer air voids, which impair heat transfer.
What to order for this set
For the underfloor part, prepare Pipes for water and heating, System panels and HPW DP 50 edge insulation strip; add the controls from the Room thermostats and controls category. Registered partners can see wholesale prices after logging in. We dispatch goods from our warehouse in Žilina and ship them throughout the EU.