
Solar DHW production – diagram and components
Solar DHW production – diagram and components
The collectors heat an antifreeze heat-transfer fluid, which the pump station carries to the coil in the lower part of the cylinder. The controller switches the pump based on the temperature difference, and the boiler provides back-up heating via the upper coil. Click a number to open the matching product.
A number in the diagram takes you to the matching item in the list below.
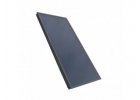
Step 1: solar collectors

Step 2: primary circuit


Step 3: temperature control

Step 4: cylinder and DHW production

Solar water heating in practice
A solar thermal system can cover a large part of the energy needed for water heating, especially from spring to autumn. The set is intended for installation companies that design and install solar systems for family houses, and for resellers putting together a complete kit for a customer. The solar circuit works with high temperatures and with antifreeze, so it requires different materials and procedures from conventional heating.
Installation procedure
- Position the collectors facing as close to south as possible and at an inclination suitable for year-round water heating. Check the load-bearing capacity of the roof and the anchoring according to the manufacturer's instructions.
- Connect the collectors with pipe that withstands high temperatures, most often copper or corrugated stainless steel. Plastic and galvanised pipes do not belong in a solar circuit.
- Insulate the entire circuit with insulation that withstands high temperatures and, outdoors, UV radiation too.
- Install the pump station on the return of the solar circuit, below the level of the collectors. It contains the pump, flow meter, pressure gauge, safety valve, check valve and shut-off valves.
- Connect the solar expansion vessel to the pump station according to its instructions.
- Connect the solar circuit to the lower coil of the cylinder, and connect the upper coil to the boiler for back-up heating.
- Fit the collector sensor in the sensor pocket at the collector outlet and the cylinder sensor at the level of the lower coil, and connect both to the solar controller.
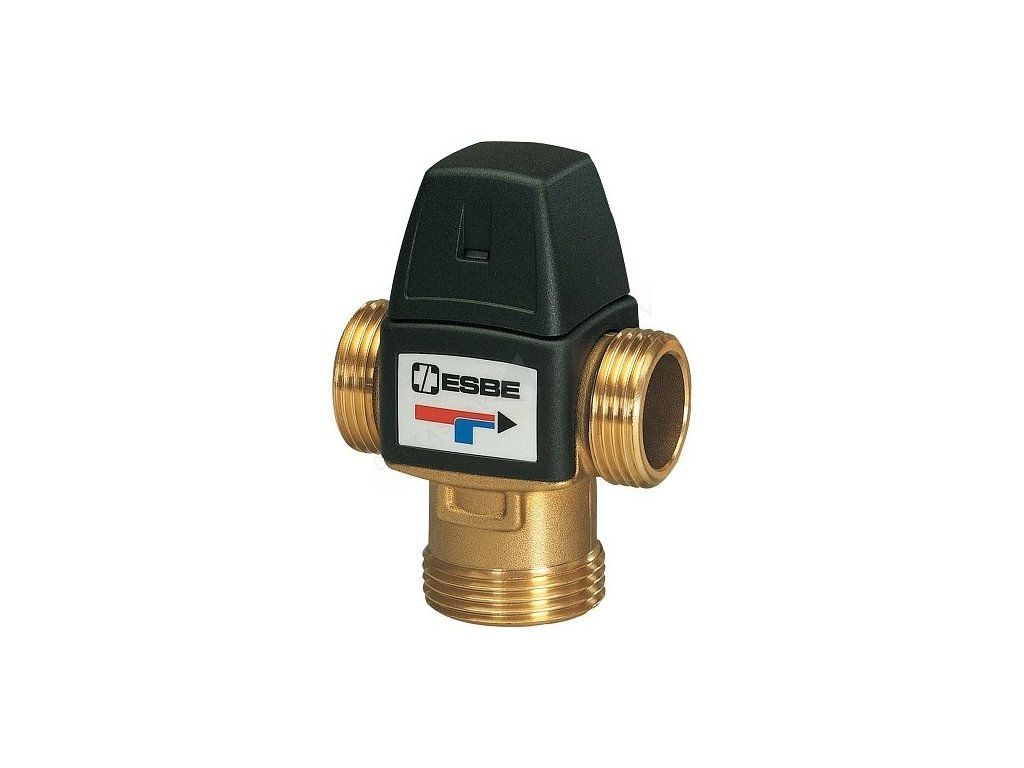
- Fit a thermostatic mixing valve on the hot water outlet of the cylinder.
- Flush the circuit, fill it with antifreeze using a filling station and bleed it. Equipotential bonding and lightning protection of the collector array are handled by an electrician.
Choosing the right parts
- The collector area for water heating is roughly 1 to 1.5 m² per person. For heating support, a considerably larger area and a more detailed calculation are needed.
- The cylinder capacity is most often designed at a ratio of roughly 50 to 70 litres per 1 m² of collector area. A cylinder that is too small overheats quickly in summer; one that is too large does not heat up fully.
- The solar expansion vessel must have a membrane resistant to antifreeze and high temperatures. Determine the volume according to the fluid content of the entire circuit, including the collectors.
- The pump station is chosen according to the collector area and the length of the circuit; the two-line version makes it easier to connect both the flow and the return.
- The controller works on the principle of the temperature difference between the collector and the cylinder. Protective functions, such as night-time recooling of the cylinder, are an advantage.
- A mixing valve is essential, because the water in a solar cylinder can reach a temperature in summer at which there is a risk of scalding.
Most common installation mistakes
- Plastic or galvanised pipe in the solar circuit.
- Insulation that cannot withstand high temperatures or UV radiation and disintegrates over time.
- Collector sensor attached to the pipe instead of in the sensor pocket.
- Coils swapped – the solar circuit connected to the upper coil.
- Filling the circuit in strong sunshine, when the collectors are hot.
- A missing mixing valve on the hot water outlet.
Commissioning and maintenance
Fill the circuit with the collectors covered or during the cooler part of the day. After filling, carry out a pressure test and set the flow rate on the pump station and the switching differentials of the controller. Once a year, check the frost resistance and condition of the antifreeze, the circuit pressure and the operation of the controller; replace the antifreeze according to the manufacturer's instructions.
Frequently asked questions
Does solar water heating also work in winter?
Yes, but with a noticeably smaller yield. The missing heat is supplied by the boiler via the upper coil, and the antifreeze protects the circuit from freezing.
What is stagnation in a solar system?
It is the state in which the cylinder is fully heated, the pump is at a standstill and the collector continues to heat up. The circuit, the expansion vessel and the insulation must be designed to cope with it without damage.
Can an existing cylinder be used?
Only if it has a coil suitable for connecting the solar circuit. In most cases, a twin-coil solar cylinder is the better choice.
Why is ordinary water not used in the circuit?
Water would freeze in the collectors in winter and damage them. Antifreeze also contains additives that protect the circuit from corrosion.
What to order for solar water heating
You will find a complete solution in the Hewalex solar kits range; complete the circuit with the ZP2-12 ECO solar pump station and the IBAIONDO 18L solar expansion vessel, and store the hot water in the Twin-coil solar cylinder including insulation. Registered partners can see wholesale prices after logging in. We dispatch goods from our warehouse in Žilina and ship them throughout the EU.